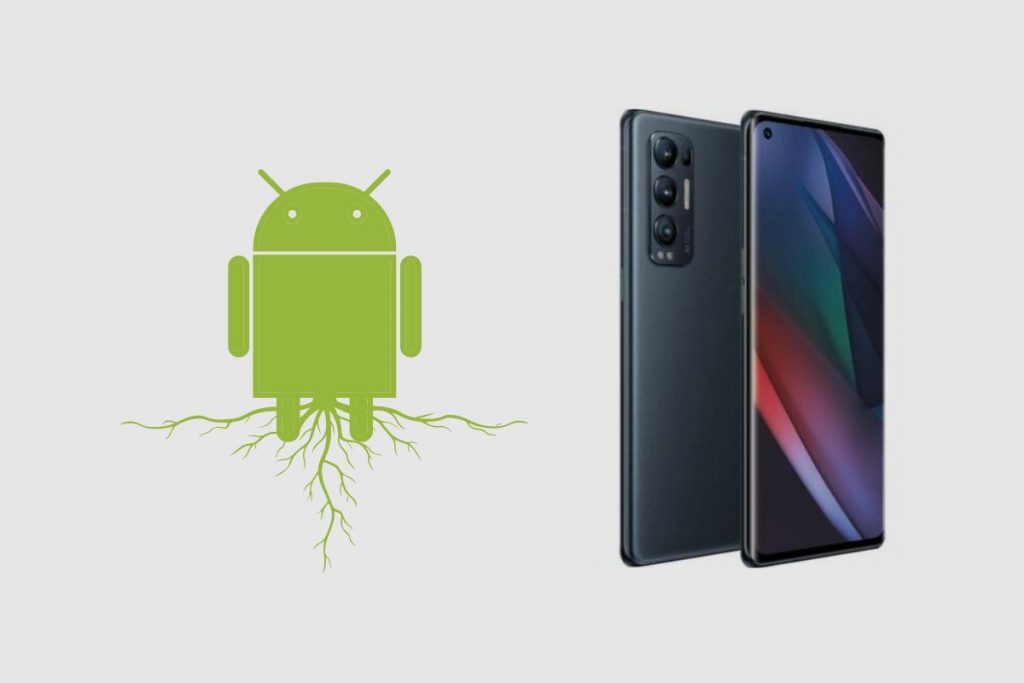
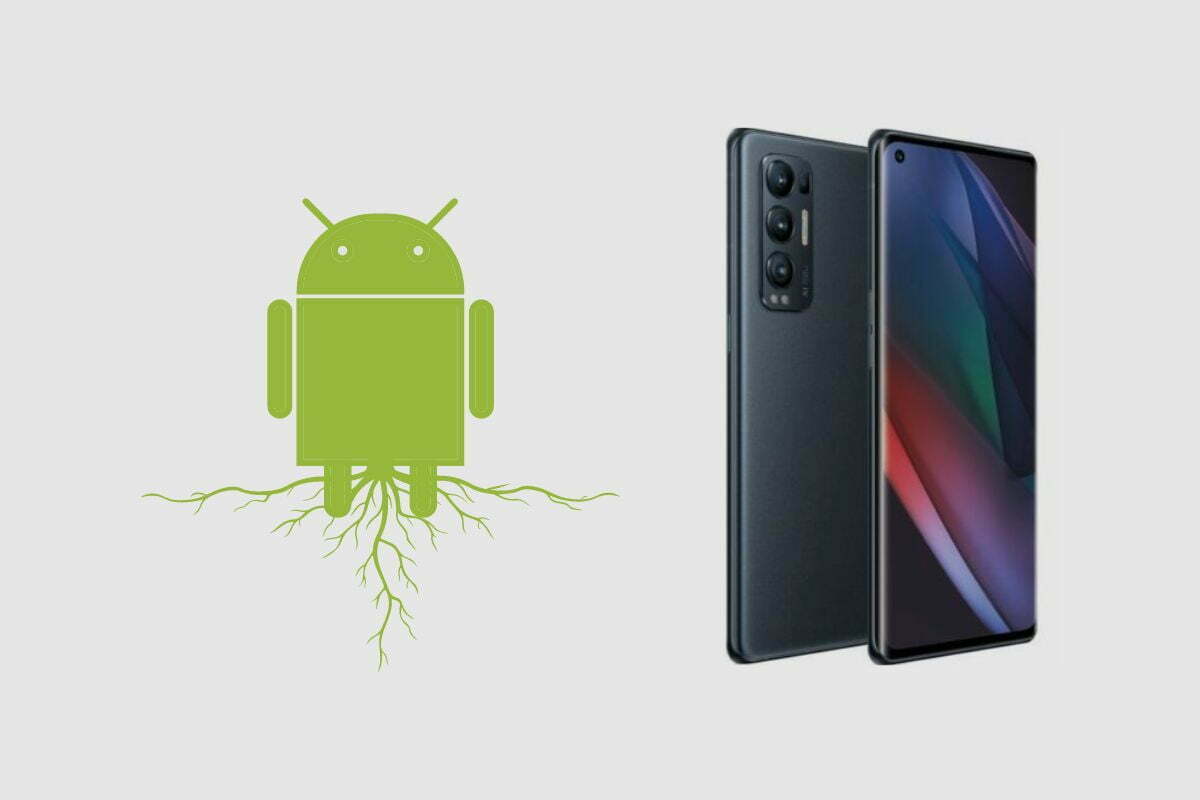
The Oppo Find X3 Neo is one of Oppo’s best mid-range phones available on the market. It was released as part of a set of Oppo’s Find X3 models of phones. Among its brothers are the Find X3 Lite, the Find X3 Neo, and the Find X3 Pro.
The Oppo Find X3 Neo is the middle brother of the set and has a good set of features and specs that make it a solid mid-range phone option to buy. Just like many Android phones, the Oppo Find X3 Neo can also be rooted to give you access to a lot of different features that you wouldn’t otherwise be able to access when you normally use it.
So, join me in this article as I go through what you would need to root your Oppo Find X3 Neo and explain what rooting is and what it does to your phone. However, please note that rooting your phone is a risky process, and you will need to follow this process exactly.
- What is Rooting?
- How to Root the Oppo Find X3 Neo
- Step 1; Get the Bootloader Unlock on your Oppo Find X3 Neo
- Step 2. Install the TWRP Recovery on the Oppo Find X3 Neo
- Step 3: Root Oppo Find X3 Neo with Magisk and SuperSu
- Magisk Manager installation;
- SuperSu Installation;
- Step 4: Check your Root on the Oppo Find X3 Neo via a Root Checker
- Where can I download the Magisk Manager and SuperSu files?
- What are the Pros and Cons of Rooting a Phone?
- Conclusion
- Image Gallery – How to Root the Oppo Find X3 Neo?
What is Rooting?
The basic definition of rooting is that you can write to the root of the system partition. So, once you have rooted your device, you can do a lot of things that weren’t possible for you to do on your phone or tablet. Rooting also gives you more control over your phone and allows you to do more things than usual on it.
Once you have rooted your phone, you can get rid of all those pesky carrier-installed or pre-installed apps that you don’t want on your phone. Another thing you can do with your phone once it is rooted is to use root-only apps that only work on rooted phones, which gives you even more control over your phone than before.
A friend of mine pointed out that there are a lot of great root-only apps for your Android devices that have a lot of features that end up getting implemented into newer versions of the Android OS. For example, you needed to root your phone to take screenshots, but that is now built into all Android phones. Back then, you also needed to root your phone to tether it with other Android devices, but now that is a built-in feature for all Android devices.
So, if you want to be on the bleeding edge of features and new customization options, as well as do more things with your Android devices, then you should root your phone. If you want to back up and restore app data, add themes to Android, change your boot-up animation, or change your ROM entirely, then rooting your phone is the way to go.
How to Root the Oppo Find X3 Neo
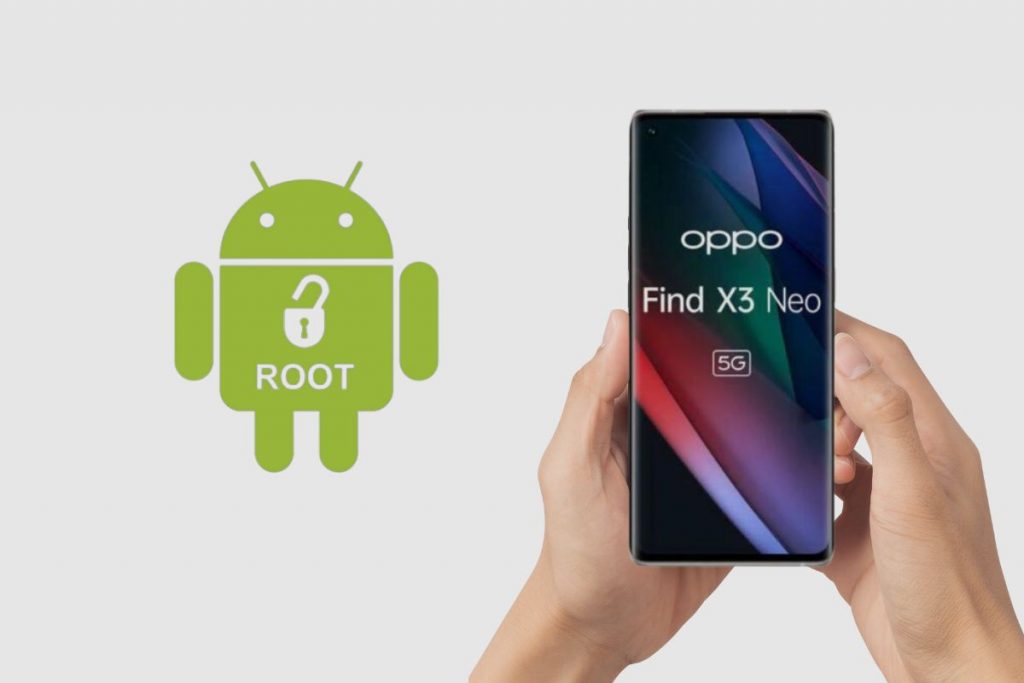
Rooting your Oppo Find X3 Neo is not a simple process, and you have to follow this step-by-step guide to make sure you get the rooting process right. Also, this rooting process is specifically designed to work on your Oppo Find X3 Neo. If you attempt to do it on another phone, it may get stuck in a boot loop, or it may become bricked.
Step 1; Get the Bootloader Unlock on your Oppo Find X3 Neo
- The first thing you will want to do before rooting your Oppo Find X3 Neo is to check for the latest software update on the phone and update the phone. You can do this by going to “Settings,” then “About” and then finally checking software updates.
- After that, you will want to enable developer mode on your phone. You can do that by going into your phone’s “settings” then going to “about phone”, “baseband and kernel”, “build number”, and then click on “build number about 7 or 8 times. Once that process has been carried out, your developer mode will be enabled.
- Once developer mode has been enabled, you will have to go back into your settings and enter additional settings, then go to developer options and enable USB debugging and OEM unlock.
- Once that process is complete, you will need to make use of a PC or Laptop to continue the process;
- The first thing you will need to do is Install the Oppo USB driver onto your computer.
- Then you will need to make sure your computer has ADB Fastboot drivers installed
- Then download SDK Platform tools and install them onto your PC or Laptop
- After that, you will have to go to the Command prompt from the SDK platform tools file.
- Once that is done, you will then click on the shift + right mouse button on the empty space in your computer’s SDK platform-tools folder. Then type CMD in the location containing the file.
- After that, you will need to connect your phone to the computer via a USB cable in Fastboot mode. Then you will need to switch off your phone and then press the power button and volume up button at the same time.
Once that is done, you will have to type these commands on your PC or laptop exactly as you see them here;
1. Command: – ADB devices
2. Command: – ADB reboot bootloader
3. Command: – fastboot devices
4. Command: – OEM unlock
5. Command: – fastboot reboot
Once that is done, your bootloader on the Oppo Find X3 Neo should be unlocked.
Step 2. Install the TWRP Recovery on the Oppo Find X3 Neo
- You have to download the TWRP Recovery filer for Oppo Find X3 Neo onto your PC or Laptop
- Then move the TWRP Recovery file to the SDK Platform-tools
- Then you have to rename the TWRP Recovery file to twrp.img
- Once that is done, you will enter the Comand prompt on your computer
You will have to click the shift key and the right mouse button on the empty space in your computer’s SDK Platform-Tools folder. Then boot your phone in fastboot mode by switching it off and then pressing the volume up and power buttons at the same time.
After that, you will have to connect your phone to your computer via a USB cable, then enter this command on your computer;
1. Command : – ADB devices
2. Command: – fastboot reboot bootloader
3. Command: – fastboot flash twrp.in=mg
4. Command: – fastboot reboot
After this, the TWRP recovery mode will be installed on your phone.
Step 3: Root Oppo Find X3 Neo with Magisk and SuperSu
Magisk Manager installation;
- First of all, you will need to download the Magisk Manager File on your phone.
- Then move the Magisk Manager file to your internal storage, and you have to make sure that the TWRP Recovery mode is properly installed on your phone.
- After that, you will need to switch off your Oppo Find X3 Neo and run a fastboot on it. After that, your phone should come to the TWRP Recovery mode.
- Then click on “Install.”
- After you click install, you will have to select the Magisk Manager file and slide a swipe to confirm flash.
- After the flash, you will click on “reboot system.”
- Your Oppo Find X3 Neo should be rooted completely, but you’re not out of the woods yet. You still have to install the SuperSu, which is the second phase of the rooting process.
SuperSu Installation;
- First, download the SuperSu onto your phone
- Then move the SuperSu file to your internal storage
- Then switch off your phone and run a fastboot, then your phone should go to the TWRP Recovery Mode.
- Once that is done, click on Install.
- After you have installed the SuperSu file, then slide swipe to confirm flash.
- Once your phone has been flashed, click on reboot system.
- After your phone has been rebooted, it should be completely rebooted
Step 4: Check your Root on the Oppo Find X3 Neo via a Root Checker
- The last thing to do on your phone is to make sure that the root was successful, and you can do this by installing a root checker app on your phone from the Play Store.
- Once the app has been installed, you will have to open the app and tap on “verify root”
- Then grant permission to the app to access your files.
- After that is done, you should receive a message stating the app has been successfully installed on the device.
- Once that is done, your Oppo Find X3 Neo has been successfully rooted.
Where can I download the Magisk Manager and SuperSu files?
You can download Magisk Manager and SuperSu files directly from the Magisk Manager site at magisk.me.
What are the Pros and Cons of Rooting a Phone?
Pros:
- You get the ability to modify and customize almost everything on your phone.
- You can download modules that will help boost the FPS rate on older phones.
- You can improve your battery life on your phone.
- You can remove a lot of the bloatware on your phone.
- You can install root apps on your phone.
- You can easily install a custom ROM.
Cons:
- You void your phone’s warranty when you root it.
- If you make any mistakes during the rooting process, your phone can be bricked, so be careful.
- You will not get any more OTA updates on your phone.
- Your phone becomes vulnerable as all of its security measures are unavailable.
Conclusion
Rooting your Oppo Find X3 Neo can be a very simple process, but it is also very risky, so make sure that you follow all the steps provided to you so that you can avoid bricking your phone. However, rooting your phone can give you all the control you could ever want. From changing the themes on your phone to boosting your FPS on mobile shooters like Call of Duty, rooting your phone can be a very satisfying process if done correctly.
I hope you found this article useful and informative; please, if you have any questions, drop them down in the comments section, and if the root process worked for you, please let me know how it worked out for you and if you encountered any problems, do let me know. Once again, thank you so much for reading this piece.
Image Gallery – How to Root the Oppo Find X3 Neo?


